Using Freeze Frame
You can use Freeze Frame to showcase a specific frame in your video by extending the length of time that frame displays. For example, you can use Freeze Frame to showcase the video frame where a goal is scored in a sporting event or use it to showcase a smile or reaction that you’ve captured.
When you apply Freeze Frame to a video clip, the clip is automatically split at the freeze point and the frame you choose is inserted as an image file (BMP) and displayed onscreen for the duration that you set.
To apply Freeze Frame
1 In the Timeline (Edit workspace), select the video clip that has a frame you want to freeze.
2 Scrub to the frame you want to use. The selected frame displays in the Preview window.
Note: The Previous and Next buttons in the Navigation panel let you navigate a clip frame-by-frame to find the frame you want.
3 Click Edit menu > Freeze Frame.
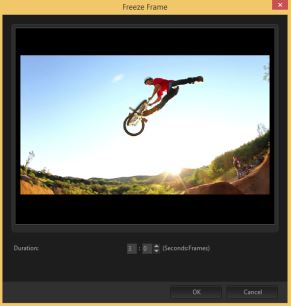
4 In the Freeze Frame dialog box, set the Duration.
Note: If you want to suspend audio on other tracks during the freeze, enable the Split Audio check box. This splits and suspends all audio-related tracks (voice, music, video overlays) for the duration of the freeze.
5 Click OK.