Applying pan and zoom effect
Pan & Zoom is applied to photos, and it emulates the pan and zoom movements of a video camera. This is known as the “Ken Burns effect”.
To apply pan and zoom effect to photos
• Right-click the photo in the Timeline and select Auto Pan & Zoom.
Note: You can also apply pan and zoom to a photo by clicking Pan & Zoom in the Photo tab of the Options panel.
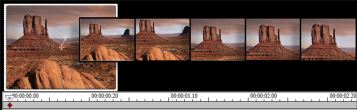
You can customize a pan and zoom effect. The procedure below shows an example of how to start zoomed in on a subject, then pan and zoom out to show the whole image.
To customize pan and zoom effect
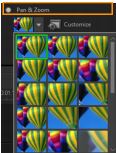
1 In the Photo tab, select Customize under Pan & Zoom.
2 In the
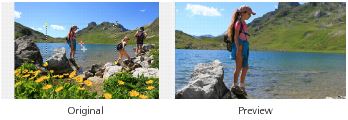
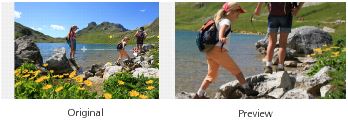
Pan and Zoom dialog box, the crosshairs

in the Original Window represent the key frames in the image clip where settings can be customized to produce the pan and zoom effect.
3 Drag the Start key frame, represented by crosshairs in the Image Window, to the area where you want to focus.
4 Zoom in on the area by minimizing the marquee box or by increasing the Zoom ratio.
5 Drag crosshairs of the End key frame to your desired final point.
6 Click the
Play button

to preview the effect.
7 Click OK to apply the effect to the image.
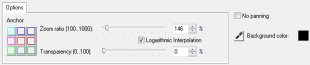
Additional options in the Pan and Zoom dialog box allow you to further customize this effect. Click the Anchor boxes to move the marquee box to fixed positions in the Original Window.
To zoom in or out of a fixed area without panning the image, select No panning.
To include a fade-in/out effect, increase the
Transparency. The image will fade to the
Background color. Click the color box to choose a background color, or use the eye dropper tool

to select a color on the Image Window.