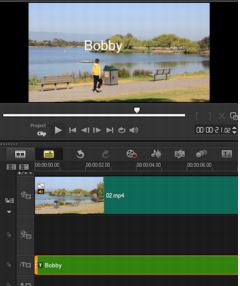
Part | Description |
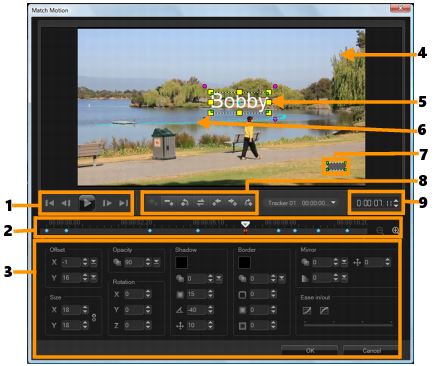
1 — Playback Control | Buttons that control video playback. |
2 — Timeline Control | The Video Timeline along with zoom controls. |
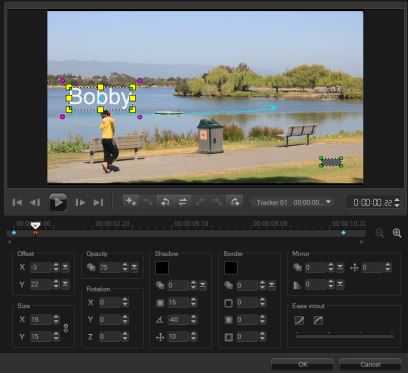
3 — Attribute Panel | Defines the Position, Size, Opacity, Rotation, Shadow, Border, Mirror and Ease in/out controls. |
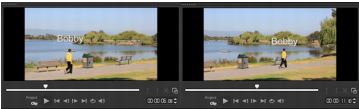
4 — Preview Window | Shows the current video being played. |
5 — Matched object | Specifies where the matched object is placed, which can be a title or overlay. This is applicable only in Match Motion. |
6 — Motion path | The path of the motion as manually defined. This is shown only in the Customize Motion dialog box. |
7 — Object distortion window | Controls the orientation of the video clip / overlay object. |
8 — Key frame Control | Adds, removes and controls the position / offset of key frames. |
9 — Timecode | Lets you jump directly to a specific part of the video by specifying the exact timecode. |
Match Motion / Customize Motion buttons and options | |
 | Add keyframe — Adds a keyframe |
 | Remove keyframe — Removes a keyframe |
 | Go to previous keyframe — Jumps to the previously available keyframe |
 | Reverse keyframe — Reverses the current keyframe |
 | Move keyframe to the left — Moves the current key frame one step to the left |
 | Move keyframe to the right — Moves the current key frame one step to the right |
 | Go to next keyframe — Jumps to the next available keyframe |
Tracker menu — Lets you select the tracker that the matched object will follow. This is shown only in the Match Motion dialog box. | |
 | Reset — Discards all actions. This is shown only in the Customize Motion dialog box. |
 | Save to — Saves the active paths to the path library. This is shown only in the Customize Motion dialog box. |
Cancel — Closes the Customize Motion / Match Motion dialog box and discards any changes made on the video. | |
OK — Closes the Customize Motion / Match Motion dialog box and saves the path tracked as a video clip attribute. | |
Match Motion / Customize Motion right-click menu | |
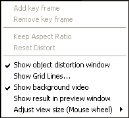
Add key frame | Adds a key frame |
Remove key frame | Removes a key frame |
Keep Aspect Ratio | Maintains the width to height ratio when you resize the video clip or overlay object. |
Reset Distort | Reverts to the original aspect ratio after you distort the clip or object. |
Show object distortion window | Displays/hides the object distortion window that controls the orientation of the video clip / overlay object. |
Show Grid Lines | Launches the Grid Line Options window that modifies the grid line settings. |
Show background video | Displays/hides the other tracks in the Timeline. |
Show result in preview window | Enables/disables simultaneous display of edits on the preview window. |
Adjust view size (Mouse wheel) | Changes zoom settings to 100%, 50%, or 33%. Alternatively, you can zoom in or out using the mouse wheel. |